 Charlie Osborne/
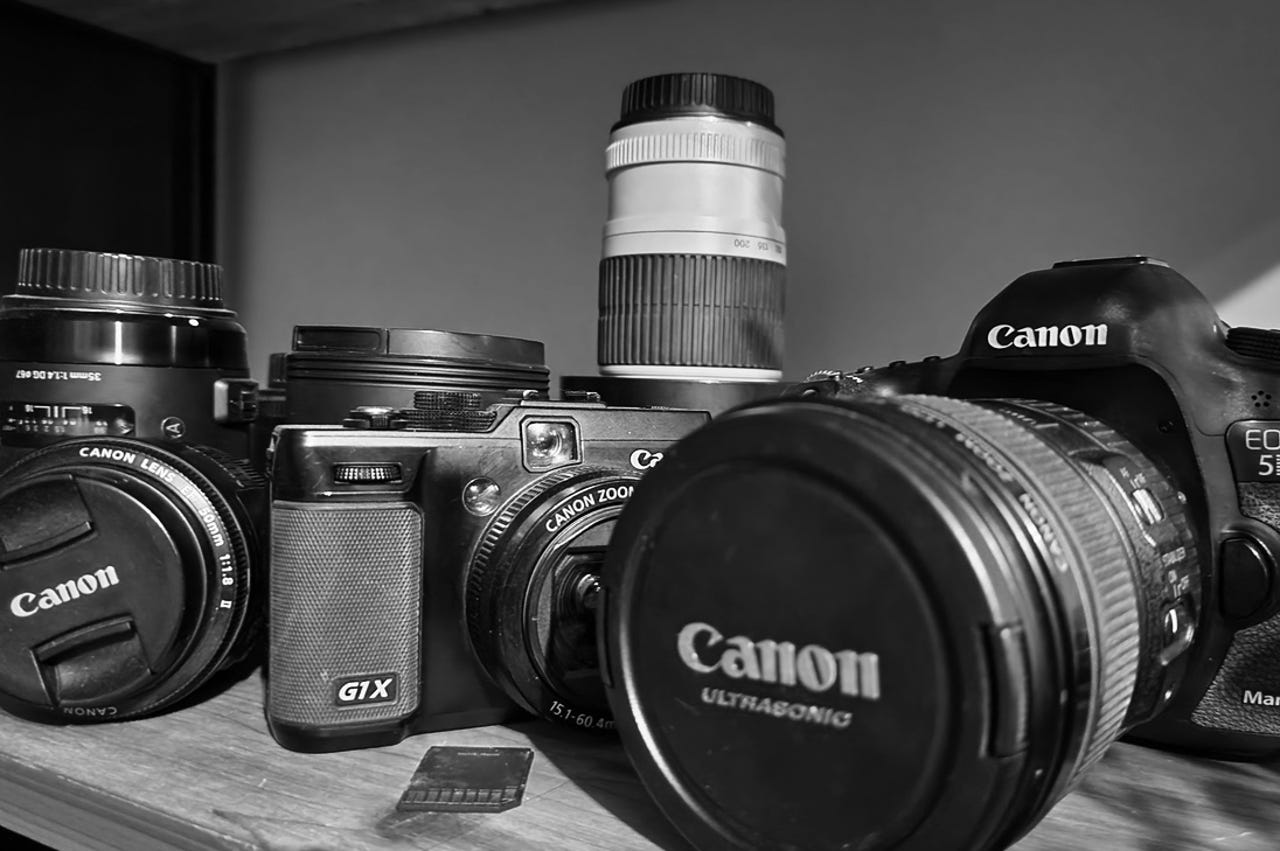
 The first time I handled a Canon camera, I admit, I was a bit overwhelmed.
While in recent years, smartphone and mirrorless cameras have rocketed in image quality and usability, the DSLR is still a well-respected and popular tool in the hands of enthusiasts and professional photographers. Paired with the right lens or settings, you can transform a potentially dull, uninspiring photo into something worthy of being on display in your home.
However, as with many products, there's a learning curve and you can't run before you walk. Many of us will spend months, or even years, perfecting our photography game -- but here's a step-by-step guide to becoming acquainted with your Canon DSLR camera.
Also: The best cameras
Canon through the ages
Founded in 1937, Canon has developed a massive range of cameras throughout the decades. Canon's predecessor began working on Japan's first 35mm focal-plane-shutter camera, the Kwanon, in 1934, and since then, Canon has transitioned from shutter cameras and cine-cameras to compacts, digital single-lens reflex cameras (DSLRs), and now, mirrorless designs.
Best instant cameras
![]()
Nostalgic? These instant cameras print tangible photos in seconds
Instant cameras may not be new gadgets, but they are becoming more modernized with selfie modes, Bluetooth capabilities, apps, and the use of filters. Polaroid Now+ is our top pick due to its fun app, filters, and vintage film experience. It's time to have actual photos in your hand again to showcase your memories in a classic way.
Read now Film has moved to digital, while fixed and basic lenses have evolved to interchangeable lenses. Connectivity is king. While mirrorless cameras are on the way to outstripping DSLRs and may one day send them to the legacy pile, they remain a favorite for professional photographers.
Canon's range now includes entry-level models suitable for beginners, such as the Rebel series, and more advanced devices for professionals, including the Mark range. The company also manufacturers well-respected lenses, such as theL-Series .
When it comes to pricing,entry-level Rebel DSLRs can be picked up for as little as$470, whereas apremium Mark VI , with kit, will set you back over$4,000.
Also: The best cameras for beginners
How to use a Canon camera: The basics
When you first pick up a Canon DSLR or other model, you should keep in mind that the settings, controls, and overlays will differ slightly depending on your product. We will be showing examples using aMark III , but the basic premise of most Canon cameras is the same.
![]()
Canon Mark III
$1,534.95 at Amazon We will be exploring how to change a lens on a Canon camera, the crucial settings you should become familiar with, and what shutter speed, exposure, aperture, and ISO ranges mean for your photography pursuits.
Pro tip:You should consider purchasing acamera harness if you're going to be working events. It only takes one slip for your beloved camera to hit the deck and disrupt the delicate components inside. At the very least, pick up a suitable camera bag with padding to protect your device.
How to change the lens on a Canon camera
![]() Charlie Osborne/
Charlie Osborne/ Budding photographers need to be able to handle their lenses well to protect them from damage and make sure that their camera body is able to properly connect.
Lenses will come with both a front and back cover to protect them from dust and accidentally being scratched. Keep the front cover on for now and gently loosen the back.
On your camera, there will be a button near the lens slot. You will need to push this button down and hold it while slowly rotating the current lens away from the button.
You might feel resistance when you've turned it far enough. Pull out the lens, release the camera button, screw on the back cover of the lens, and set it aside.
Featured
- We're not ready for the impact of generative AI on elections
- This is the$300 Android phone to beat in 2023 - and it even has a stylus
- 5 things I learned while building my smart home
- The best laptops under$1,000: MacBook, Surface Pro, HP models compared
Canon lenses usually come with a white or red dot. You should match this dot with the dot you will also find on your camera, which shows you how to align the lens and camera body properly. Insert the lens and rotate it toward the button. You should hear a click when the lens has been properly installed.
Pro tip:Never use clothing, towels, or wet wipes to clean your camera lens. You can cause permanent damage to the delicate glass, leading to scratches and image distortion. Instead, use a microfiber cloth or cleaning wipes developed for cameras, or alens pen .
Also:The best camera phones
Settings you should know
When someone first picks a camera, whether or not it is a compact, DSLR, or mirrorless, many beginners will start with an "automatic" function for taking shots. Automatic functions allow the camera to adapt its settings and make the decision on how a shot should be taken, rather than the user taking creative control.
There's nothing wrong with this, as first and foremost, you should enjoy taking photos. However, as you progress, learning how to make the most of your camera's capabilities by transitioning to manual options can improve your skill set and the images you take.
On most modern Canons, you will find the settings below.
Manual, automatic, and more on the main Canon wheel
![]() Charlie Osborne/
Charlie Osborne/ The main wheel, and variants thereof, can look confusing at first glance. However, the main ones you will be interested in are Auto and Manual to begin.
- A+:Scene intelligent auto will allow the camera to automatically choose all of the right settings for a shot.
- M:Manual mode. Most professional photographers will use this to fine-tune the camera settings they want for exposure, including ISO, shutter speed, and aperture.
- Av:Also known as Aperture Priority, this allows you to set a shallow or deep depth of field by selecting a specific F-number. Based on this, the camera chooses the shutter speed.
- Tv:Time value or Shutter Priority -- in which the camera will control your aperture. You select the shutter speed.
- P:Controls shutter speed and aperture combination for you, but you control all other settings manually.
- C1/C2/C3:Found on some Canon DSLRs cameras, these custom functions allow users to program the settings they want for use later -- and they are particularly useful for saving time with events or videography.
Some Canon cameras will also have dials for turning flash on and off, for portrait and close up modes, landscapes, sports, food, night shoots, and more.
![]() Canon
Canon
Major settings to remember
![]() Charlie Osborne/
Charlie Osborne/ - Q:The Q button stands for quick. You are able to change basic settings without needing to dive into the main (and extensive) settings. For example, if you have Auto set, you will be able to change the file format and timer options. However, if you have Manual enabled, you can adapt settings including the shutter speed, aperture, ISO speed, exposure, white balance, timers, and more.
- Set:While you are making changes to settings, clicking the 'set' button will register your preferences.
- Info:If you see an 'info' button on your Canon, selecting it will give you a short summary of your current camera settings. For example, white balance, exposure, and noise reduction settings; how much space is left on your storage card, and on some models, a display showing a guideline for the angle your camera is positioned at for your next image.
- Single or continuous shooting:Found on a main wheel next to the viewfinder, under Q, or by pressing your main Menu button depending on the age and model of your Canon, you can select your shooting mode. You can choose single shots or continuous shooting. For example, clicking the main 'shoot' button will take one image, or if you maintain pressure, you can create a burst of images. Keep in mind that continuous bursts can take longer to process, and so you may have to wait a few seconds before the second burst.
- Self-timers:In the same settings area, you can find an option for setting a delay between shots. This can help you maintain the right shutter speed and avoid touching the camera. Delaying images in this way avoids potential distortion.
Key photography terminology
There are a few terms you should become familiar with when you are starting out in the world of photography.
- Aperture: A camera's aperture lets light in and its size is recorded with f-stops or f-numbers.
- Shutter speed: The shutter speed determines how long a camera's sensor is exposed to light (exposure time). Generally, you want higher shutter speeds for motion/action photography.
- ISO: ISOs can be set to change how sensitive your camera is to light. A higher ISO is for higher sensitivity, and a low ISO setting reduces sensitivity.
- Exposure: Exposure is how much light reaches a camera sensor. The visual data gathered, in the way you want, is a correct exposure.
- Bokeh: Bokeh is the blurry background effect you often see in professional photos. This can be achieved with lenses or during the editing process.
- Depth of field: Depth of field is the distance between the closest and furthest objects that are still sharp. You can change this by tweaking your aperture settings or by switching lenses.
- Burst: Burst modes are used to simultaneously capture images in quick succession. You could use this mode to capture a bride walking down the aisle, for example, but there may be a subsequent delay in shooting as they are processed.
- RAW: RAW is a file format -- like JPG or PNG -- which photographers often prefer. Images are not compressed and so these source images save a lot of information. During editing, the more information, the better.
- Noise: Noise is the term used to describe distortion in images that can appear as specks or grain.
The live viewfinder
![]() Charlie Osborne/
Charlie Osborne/ Another setting that can be particularly useful when you're starting out is the live viewfinder. Found by clicking a small icon showing a camera body (in the Mark III's case, at the top and under start/stop), this will give you a live feed of what the camera sees. You can then adjust your exposure (normally through a dial at the top-right of your Canon) accordingly.
Also: The best camera accessories
Exposure
The visual data gathered when you take a picture, in the way you want, is a correct exposure. To achieve the right result, there are three settings you should pay particular attention to and experiment with.
- Shutter speeds:Your shutter speed determines how long the shutter remains open when you take a picture -- and, therefore, how much light is allowed to reach the sensor. Shutter speeds are set in fractions of a second; for example, 1/2 means that the shutter will be open for half a second (and this is considered slow), whereas 1/5000 is one five-thousandth of a second. As a general rule, the higher the second number, the faster the shutter speed. Slow shutter speeds are better for low-light conditions and night photography, whereas higher shutter speeds should be used for daytime, live, and action shots.
- Aperture, F-numbers:Expressed in fractions (or F-numbers, also known as F-stop), the aperture is the section of your lens which lets in -- or shuts out -- light. Aperture can be altered to change the depth of field as it determines the sharpness (or blur) of an image, such as defining an object and blurring the background.
- ISO:ISO refers to your camera sensor's sensitivity to light. In simple terms, the higher the ISO, the brighter the picture (environment allowing), and the lower the ISO, the darker the image. Premium Canon cameras may have a range of ISO 100 up to 102400, although typically, you will find cameras have a range of between 100-1600.
Tips and tricks
Now that we've covered the basics, check out a few extra tips below for making the most of your Canon camera.
- RAW:If you can, always shoot in the RAW format. RAW will give you an image containing far more information than compressed image types such as JPG. You can always make a copy of your images and compress them later to reduce file sizes, but you can't turn a JPG into a high-quality RAW-resolution file.
- Viewfinder:On many modern Canon DSLRs, when you have the live viewfinder enabled, you can still select 'Q' to change additional settings -- and, therefore, see the results in real time.
- Grids:Consider enabling your camera's grid option when you are starting out. This can help you learn how to balance your images until you can manage by eye alone.
- Lenses:If you're choosing between a body or lenses, normally, lenses should take up the bulk of your investment. While a camera body is important, lenses offer versatility when it comes to taking images. Lenses can include fixed options (great for street and portraits), zoom (for honing in on subjects), telephoto (long focus), fisheye (wide angles), macro (close focusing), and more.
- Editing:Once you've learned how to use your camera effectively, consider taking the next step: learning how to edit your images to bring them to the next level. I recommend Adobe Lightroom.
Are Canon cameras suitable for beginners?
If you want to go beyond your smartphone and dip a toe into the world of photography, you don't need a camera that has every feature known to civilization. Sometimes, the vast range of Canon cameras and lenses on offer can be intimidating (as well as their price points), but the vendor does now offer entry-level cameras which are a great starting point.
As a beginner, you may want to avoid the more high-end models with the steepest learning curves -- such as the Mark range or EOS R's -- and instead consider options including the Rebel T7 or a Powershot compact camera .
Is the lens or camera body the most important?
While upgrading a camera body can give you an improved burst rate, battery life, feel and grip, or an enhanced viewfinder, lenses are what you should consider upgrading first. Lenses offer more versatility and control over your shots and come with a variety of options -- fixed, zoom, fisheye, telephoto, and more. However, you won't always get the best result out of your lens if your camera body is struggling to keep up.
Canon or Nikon?
Both Canon and Nikon dominate the photography landscape.
Neither can be considered the favorite of all photographers as these companies are closely matched, and both offer a huge variety of cameras and accessories for pros and beginners. However, generally speaking, you can expect cheaper entry-level DSLRs from Canon (such as the Rebel series), and cheaper lens options from Nikkon's range.
Both companies, alongside their competitors, are rumored to be moving away from DSLRs altogether in favor of mirrorless products. It will be interesting to see whether they remain neck-and-neck in the coming years.
More how-tos
![]()
How to set up and use Meta's Threads as a Windows 11 desktop app
![]()
3 essential Windows tools for troubleshooting (and how to use them)
![]()
How to use iOS 17's 'Live Voicemail' transcriptions, and which iPhones support it
![]()
Bing Chat now has the highly-requested dark mode. Here's how to turn it on
-
![]() How to set up and use Meta's Threads as a Windows 11 desktop app
How to set up and use Meta's Threads as a Windows 11 desktop app -
![]() 3 essential Windows tools for troubleshooting (and how to use them)
3 essential Windows tools for troubleshooting (and how to use them) -
![]() How to use iOS 17's 'Live Voicemail' transcriptions, and which iPhones support it
How to use iOS 17's 'Live Voicemail' transcriptions, and which iPhones support it -
![]() Bing Chat now has the highly-requested dark mode. Here's how to turn it on
Bing Chat now has the highly-requested dark mode. Here's how to turn it on


 Charlie Osborne/
  Tags chauds:
Photo et vidéo